Have you ever forgotten about your hose during the winter and had to replace it in the spring?
Rain and snow can damage the plastic parts of a garden hose reel. Too much water left inside the hose can cause it to freeze and rupture the linings inside the hose when it expands. If you winterize outdoor garden hoses, you can extend their life, which should be between five and ten years with proper care.
The best time to start this process is during the late fall or early winter, depending on the time below-freezing temperatures typically arrive in the area where you live. However, even if you reside somewhere with mild winters and brief periods of freezing temperatures, it is still a good idea to winterize your garden hose reel.
In this article, we will outline the three primary winterizing solutions for your garden hose reel and other water-related yard appliances, as well as offer a few alternative options and troubleshooting tips for any problems that may arise.
Table Of Contents:
Indoor Storage
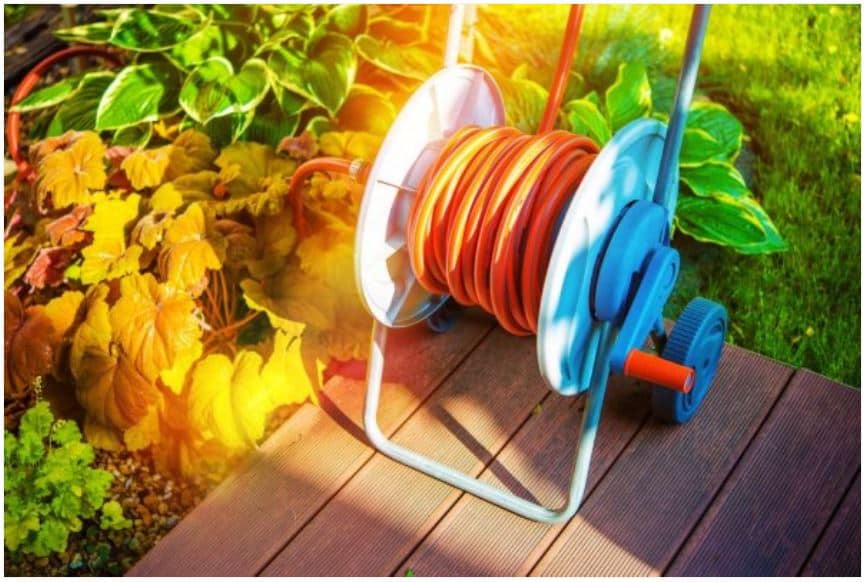
If you have an indoor space that is heated and has enough storage room, this is the simplest option when it comes to winterizing your garden hose reel. Better yet, if your hose reel is portable and comes on a cart or a wagon, it is as easy as disconnecting the feeder hose/inlet from the faucet and wheeling the unit into the indoor space. However, if your garden hose reel is mounted on an aluminum or wooden post, you will have to remove the four screws that hold the reel to the post brackets.
To winterize garden hose reels that are mounted on a wall, take out the anchor bolts or wall plate lag screws, or remove the drum assembly and flange from the axle and leave the axle/wall plate on the wall during the winter, and bring the hose reel inside for the season.
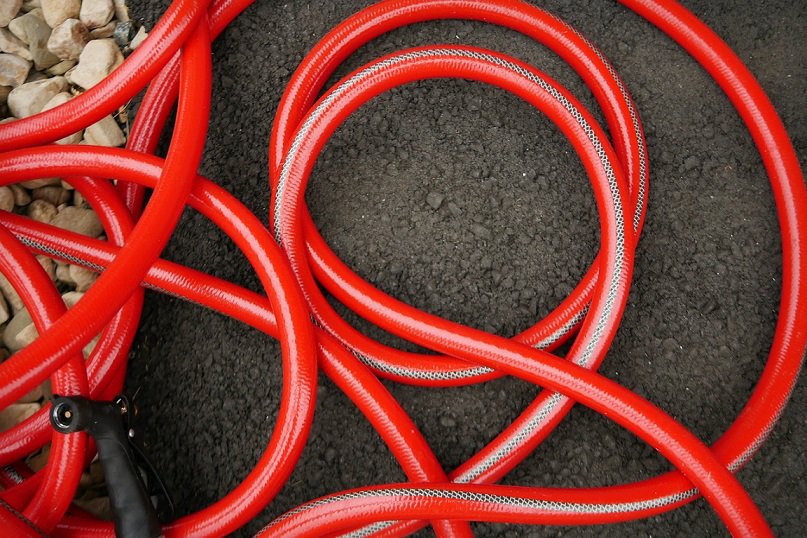
Regardless of whether you have a wall-mounted, a post-mounted, or a portable hose reel, it is important to uncoil it from the reel when you store it for the winter, as keeping it wound around the reel can damage the rubber or vinyl the hose is made from. After removing it from the reel, you can coil it loosely into a three-foot diameter. Be careful to examine the hose for any kinks or pinches. Avoid hanging the hose from a nail because it is too much weight on one small area, which might result in kinking. A hanger that is designed specifically for hoses is a better option, as it has a bigger, curved surface that can more effectively support the hose.
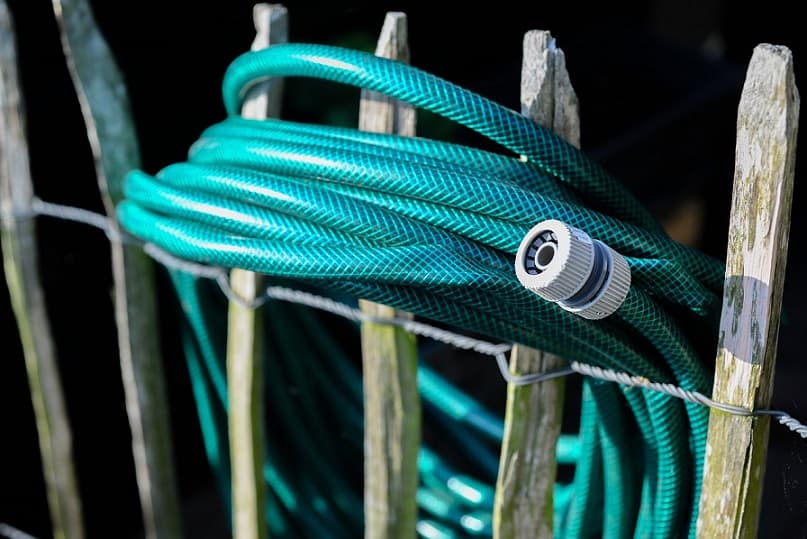
If you are considering leaving your hose reel in a garage that might still leave it somewhat exposed to the elements, you might want to purchase a hose reel cover to give it an extra degree of protection. These covers are even useful in the summer, as they can protect your hose reel from UV rays. Another helpful item is a screw-on cap to protect your hose from mice or insects that might crawl inside for shelter during the cold weather, but make sure that it is still loose enough for any condensation to escape. Alternatively, you can buy a couple of fittings to twist at the ends of the hose to close off the interior.
back to menu ↑
Gravity Drain
For this method, your hose has to be able to drain downhill. That means that if you can only take the hose off the reel uphill, this is not going to be the best option for you. If you possess the necessary requirements, the first step is to turn off the water to the outdoor faucet—for most faucets that are outside, there will be a separate shutoff valve in your house.
Next, remove the inlet hose from the faucet. If you do not do this, even your home plumbing can be damaged as the connection to the tap water might freeze. Detach the hose from the brass swivel. Disconnect the swivel from the reel and remove the inlet hose and swivel from the hose reel.
- Uncoil the hose, making sure that the reel is higher than the end of the hose.
- Reel the hose in slowly, letting the water drain from the hose as you wind it back up.
Another method to accomplish this process is to detach the hose, straighten out all the kinks and hold one part upright while you walk along the entire hose to allow the remaining water to drain. You can also drape one end over a chair or fence and stretch out the remaining hose, repeating the same process as before. However, this method might be slightly less effective at getting the most water out.
back to menu ↑
Compressed Air Drain Method
This option for safeguarding your hose reel against freeze damage is simple and fast if you possess an air compressor. The first task is to buy a blow-out plug if you do not have one already. An RV dealer in your area should have two different types of these, but you can also order them online.
- Turn off the water using the outdoor spigot and remove the inlet/feeder hose.
- Make sure to detach any watering attachments from the end of the hose, and let any nozzles dry before storing them during the winter.
- Fasten the blow-out plug to the female end of your inlet hose.
- Use your air compressor to blow the water out of the garden hose and reel.
When the garden begins to emit air instead of water, you will know that the winterizing process is complete. It is normal for there to be a little water remaining, but there will not be enough to cause damage to your reel or garden hose in the winter. However, there might be a blockage of ice when you try to push water through the hose and reel for the first time in the spring. Fortunately, you do not need to do anything about this problem—the water will do the work for you by melting the ice over time.
Alternative Option
back to menu ↑
How To Winterize A Soaker Hose
If you have a soaker hose, the winterization process is much different because soaker hose pipes have small perforations on the inside throughout the length of the hose that permits water to leak out through. Soaker hoses can stay outside, as the earth will serve as an insulator against the cold temperatures.
However, they still need to be winterized. To complete this process, let high-pressured water flow through it to push out debris and dirt. Next, detach the hose couplings from the spigot and bury the hose end in the ground, making sure to leave a marking where the hose ends are buried so that they are easier to find when winter ends.
back to menu ↑
Troubleshooting
If you happen to forget to detach your hose, it is crucial to fix it as quickly as you can. If the hose connections have already frozen to the spigot, you can fill a bowl or bucket with warm water and pour it slowly on the head of the spigot. Pouring it too quickly can result in an uneven expansion that can damage the hose. As long as you did not leave the hose outside for the full duration of the winter, this solution should defrost the connection and free the hose pipe.
However, if you find your hose still connected when spring arrives, the damage will be more extensive, and possibly irreparable, so it is important to consult a professional before trying to disconnect it.
back to menu ↑
Other Objects To Winterize
When you are winterizing your garden hose reel, do not forget to empty other objects around your yard that might also contain water, such as a rain barrel or a watering can. It is a good idea to put insulated covers on exterior faucets if you live somewhere very cold. These faucet covers are usually made of foam and fastened with wing nuts or from insulated bags that are tied on.
Another essential watering device in the yards of most people is a sprinkler. In order to prepare it for winter, you have to empty the water out of the pipes, which can be accomplished in three primary ways: manual drain, automatic drain, or blow-out.
Before starting any of these methods, turn off the main water supply and shut off the controller or timer. Change the setting to rain mode if your sprinkler has one, which turns off the signals to the valves. If your sprinkler does not have this option, you can take note of the time settings so that it is faster to reset your controller when warmer weather arrives.
For manual drain, open all the manual valves and elevate the fittings a little to make sure they can drain completely—otherwise they can crack if the water is left inside.
The last method is similar to winterizing a garden hose reel as it involves an air compressor expelling the water from the lines. Be sure to take off all the end fittings first or you will damage your sprinkler system, and then close the manual drain valves when you finish. Any air compressor that is at least 50 psi will work for this task. Lastly, store pieces like timers, filters, or pressure regulators indoors for protection. Use a cover to safeguard the faucet from animals and dirt.
If you follow the steps in this article, you can be confident that your yard will be ready for winter and ensure a long life for your garden hose reel.Shanny
Shanny not only has an exceptional understanding of the foodie mindset and how nutrition works, she has also achieved her Master’s Degree in Education. Outside of her academic achievements, she loves writing food blogs. It's so much more than a list of meals though! Shanny creates helpful cookware guides and delicious recipes that are easy to follow. She does all of this as a food blog writer because she loves it. That's why she spends lots of time testing out different recipes in her own home. She truly is a one-of-a-kind foodie, from her home to yours - with a story to tell, new recipes to indulge in and new tips to tantalize those tastebuds.


